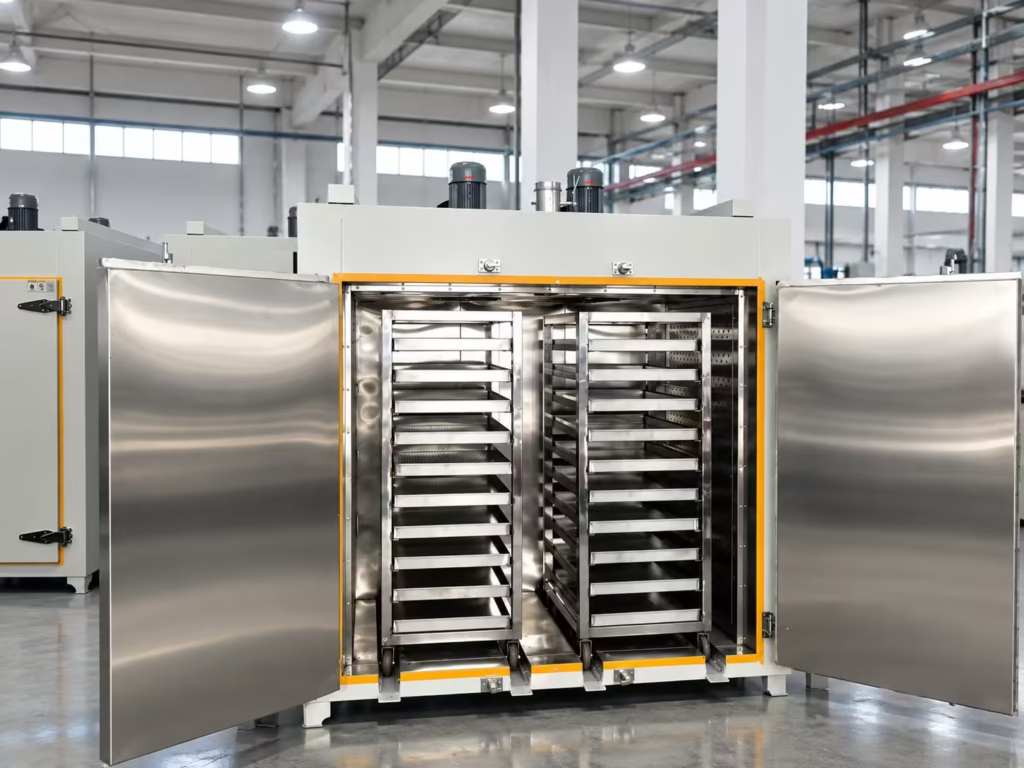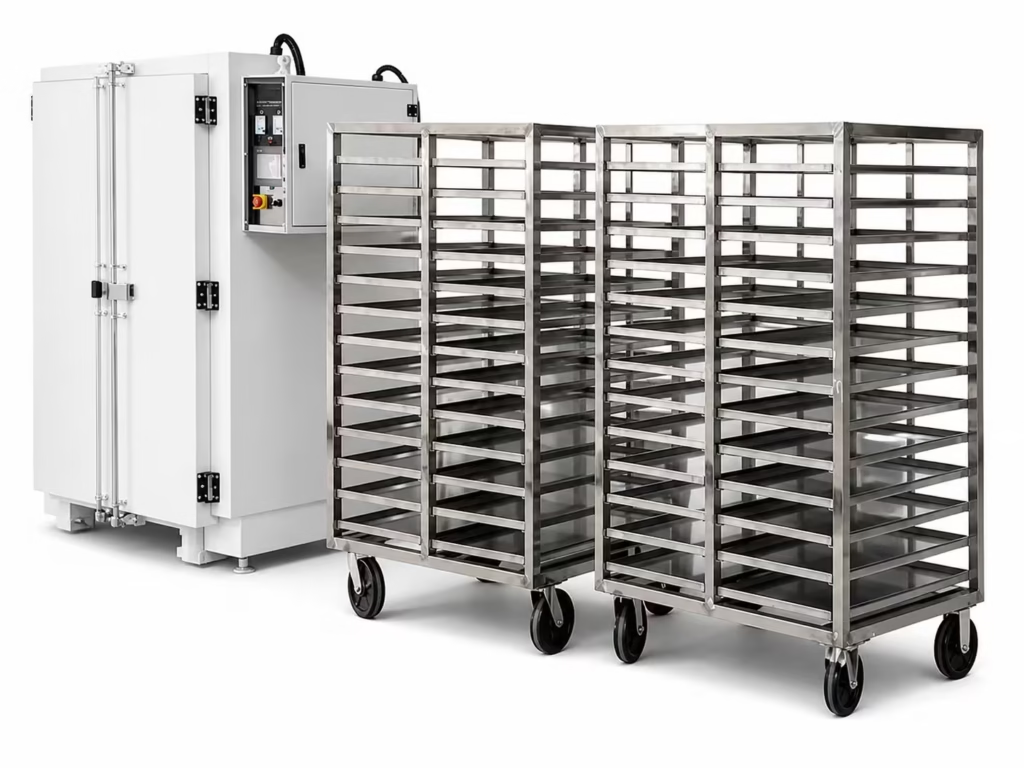

Industrial Drying Oven Temperature Uniformity & FAT
A practical guide to temperature-uniformity mapping and factory acceptance testing for industrial drying ovens. Learn how sensor layout, loading, airflow, stabilization, data logging, acceptance limits, alarms, and documentation should be defined before the oven is released for production.
- Controller accuracy is not the same as chamber uniformity. One control sensor can hold setpoint while other areas of the load are warmer or cooler.
- Uniformity must be defined with test conditions. Temperature, load state, sensor positions, stabilization time, recording interval, test duration, and acceptance limit all matter.
- Airflow and loading are usually part of the result. Rack density, cart position, blocked return paths, exhaust rate, door leakage, and product geometry can change the temperature map.
- FAT should verify more than heating. Functional checks, alarms, interlocks, recorder data, mapping, controls, and agreed documentation should be reviewed together.
- Acceptance criteria should be agreed before manufacture. Do not wait until FAT to decide whether the requirement is ±1°C, ±3°C, a nine-point test, loaded mapping, or another customer-defined method.
- Powder drying may require a different airflow strategy. Fine or low-density powders can be lifted or redistributed by strong forced circulation, so airflow velocity, tray depth, exhaust, heater arrangement, and powder containment should be reviewed together before defining the uniformity test.
Temperature Uniformity Describes the Difference Across the Usable Working Zone
In an industrial drying oven, the controller displays the temperature measured at one control point. That value does not automatically prove that every shelf, cart position, tray, conveyor zone, or corner of the usable chamber is at the same temperature.
Temperature uniformity is the measured temperature spread across defined test locations after the oven has reached the agreed test condition. The usable working zone, number of sensors, test temperature, stabilization period, loading condition, and acceptance calculation should all be stated in the test plan.
Control Setpoint
The target value entered into the PID or PLC temperature controller.
Control Sensor
The process sensor used by the controller to regulate heater output.
Mapping Sensors
Independent test sensors placed around the usable zone to verify the actual chamber temperature distribution.
A Stable Display Value Does Not Prove the Entire Load Is Uniform
Three different performance terms are often mixed together during procurement: control accuracy, stability at one point, and spatial temperature uniformity. They should be separated in the specification because they are verified in different ways.
| Performance item | What it describes | Typical verification | Why it matters |
|---|---|---|---|
| Controller accuracy | How closely the control system reads and regulates its own measurement point. | Controller / sensor check against calibrated reference equipment. | Confirms the control loop is reading correctly. |
| Temperature stability | How much temperature at one location changes over time after stabilization. | Time-based trend from a fixed sensor. | Shows whether the oven cycles or drifts excessively. |
| Temperature uniformity | Temperature difference between multiple locations across the usable zone. | Multi-point mapping test. | Shows whether all parts of the batch or product path see comparable thermal conditions. |
Uniformity Is a System Result, Not a Controller Setting
Heater power alone does not create uniform temperature. The result depends on how heat is generated, moved, returned, exhausted, and transferred into the actual load.
Supply & Return Airflow
Plenum geometry, duct resistance, supply openings, return location, fan capacity, and damper balance determine how heat reaches the working zone.
Loading Density
Closely packed trays, tall carts, large panels, or blocked shelf gaps can create local hot and cold zones even when the empty oven maps well.
Exhaust & Make-Up Air
High exhaust can pull heat from one area faster than another. Moisture removal and temperature balance must therefore be engineered together.
Doors, Seals & Structure
Door leakage, insulation discontinuities, panel joints, floor interfaces, and large openings can affect edge temperatures and recovery after loading.
Plan the Mapping Method Before the Test Starts
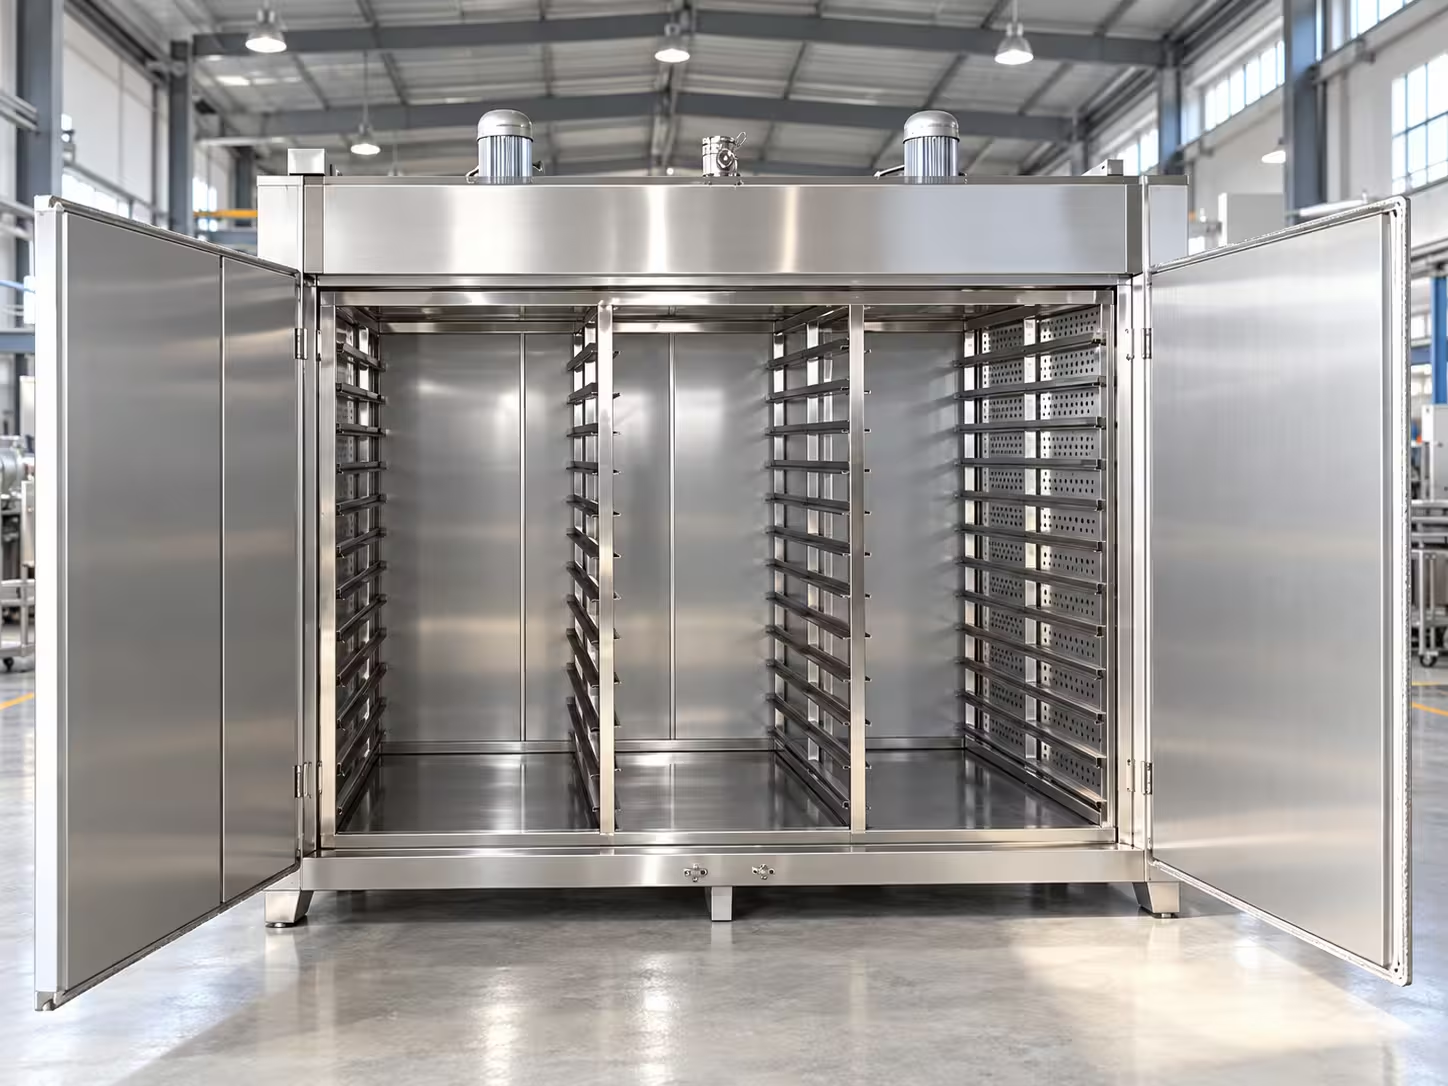
A useful mapping test begins with an agreed sensor layout and acceptance method. For many batch ovens, a multi-point layout distributed through the usable chamber is practical. A nine-point arrangement is common in project testing, but the correct number and location of sensors should follow chamber size, usable volume, loading pattern, customer specification, and risk.
| Test item | What should be agreed | Why it matters |
|---|---|---|
| Test temperature | One operating point or several representative setpoints. | Air balance and heat loss can change at different temperatures. |
| Sensor quantity & position | Number of thermocouples / RTDs and their coordinates inside the usable zone. | Defines what volume the test actually represents. |
| Stabilization | When data collection begins after setpoint is reached. | Prevents warm-up behavior from being confused with steady-state uniformity. |
| Recording interval | How frequently test data is logged. | Determines how well short cycling or drift can be seen. |
| Test duration | How long the stable condition is recorded. | Confirms the result is repeatable over a meaningful period. |
| Acceptance calculation | Maximum spread, deviation from setpoint, or customer-defined method. | Avoids disagreement after the test data has already been collected. |
Practical rule: the mapping diagram, data table, test temperature, stabilization rule, test duration and acceptance limit should all appear in the FAT plan—not only the final pass/fail statement.
Empty-Chamber Uniformity and Loaded-Process Uniformity Answer Different Questions
Empty mapping is useful for checking the base airflow and thermal balance of the oven. Loaded mapping is closer to the real process because the product, shelves, trays, carts, fixtures, and moisture load disturb the airflow and absorb heat.
Useful for Equipment Baseline
Checks chamber balance, circulation, controls, heaters, ducting, door sealing, and the usable zone before production loading is introduced.
Useful for Process Validation
Shows how the actual rack, cart, tray, component geometry, moisture load, and loading density influence temperature distribution and recovery.
If the customer requires loaded acceptance, the representative test load must be defined before FAT. A “full load” should describe the actual mass, product arrangement, rack spacing, cart position, and any process material used during the test.
Write the Pass/Fail Basis Into the Project Before Manufacturing Starts
Temperature requirements should not be left as informal expectations. If the project needs a specific uniformity tolerance, it should be connected to a defined test method. Some custom drying ovens can be engineered for tight tolerances such as ±1–3°C under agreed conditions, but the achievable result depends on chamber size, temperature, airflow architecture, loading, exhaust, door configuration, and the test method.
Tolerance
Define the permitted temperature spread or deviation rather than using “uniform temperature” as a general statement.
Usable Zone
State whether the test covers the full chamber or only the validated working envelope around shelves, carts, or product.
Operating Condition
State test temperature, load condition, exhaust condition, fan mode, conveyor state, and other variables that affect the result.
For higher-temperature drying processes where heat loss and material limits become more demanding, review the High Temperature Drying Oven direction before freezing the acceptance basis.
FAT Should Verify the Oven as a Functional System
A drying oven FAT is normally broader than one temperature map. The final scope depends on the purchase specification, but the following items are useful building blocks for a project-specific acceptance plan.
| FAT area | Typical checks | Possible evidence |
|---|---|---|
| Mechanical | Chamber dimensions, doors, carts, racks, rails, conveyor, access, seals, labels, and general workmanship. | Inspection record, dimensions, photos, drawings. |
| Electrical & controls | Power-up, PID / PLC operation, recipes, alarms, fan sequence, heater enable logic, VFDs, HMI, emergency stop. | Functional checklist, screenshots, alarm test record. |
| Safety interlocks | Over-temperature, circulation failure, exhaust proving where required, door logic, emergency stop, heater shutdown conditions. | Interlock test sheet and observed response. |
| Thermal performance | Heat-up time, setpoint stability, multi-point mapping, recovery, and agreed operating test. | Temperature trend and mapping report. |
| Documentation | GA drawing, electrical drawing, manuals, component list, calibration documents, test reports, spare-parts information. | FAT document package. |
Good FAT Evidence Must Be Traceable to the Test Condition
A temperature map is only useful when the recorded data can be connected to the sensors, test locations, instrument identification, time period, test temperature, and actual operating condition.
Sensor Identification
Each test channel should be identifiable so the report can be matched to the physical sensor location.
Calibration Status
Where required by the project, reference instruments and test sensors should have current calibration information.
Raw Trend Data
Recorded data helps show stabilization, temperature spread, cycling, drift, and the time period used for acceptance.
Final FAT Report
The report should identify the oven, test condition, mapping layout, acceptance basis, results, deviations, and sign-off status.
When a Uniformity Test Fails, Look at Airflow and Loading Before Adding Heater Power
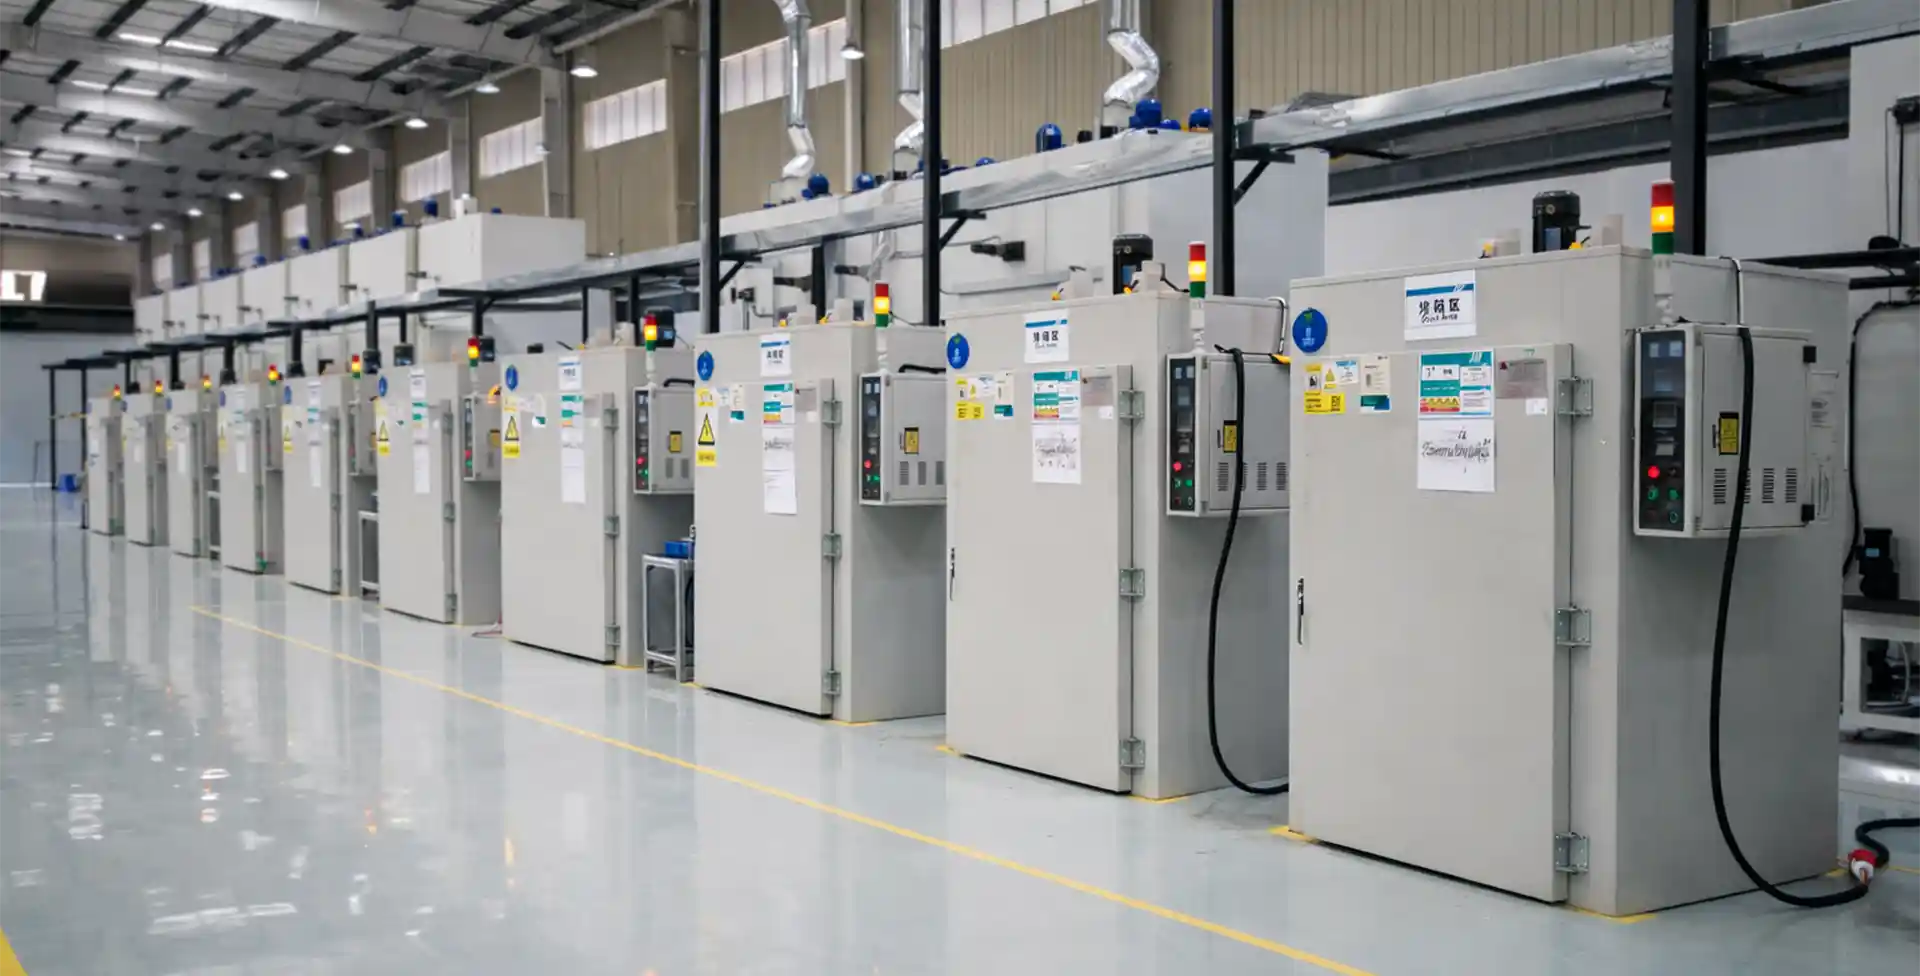
A failed map does not automatically mean the oven needs more total kW. Excessive power can shorten heat-up time while leaving the underlying air-distribution problem unchanged.
Blocked Air Paths
Dense trays, carts, fixtures, or product can block supply or return flow and isolate parts of the chamber.
Uneven Supply Balance
Dampers, ducts, plenums, or outlet openings may need adjustment to balance the working zone.
Excessive Exhaust
Too much fresh-air replacement or exhaust can create local cooling and increase heater demand.
Door / Seal Leakage
Leakage around large doors or loading interfaces can create repeatable cold regions near the perimeter.
Sensor Placement
A test point placed outside the intended usable zone can produce a result that does not represent the production space.
Insufficient Stabilization
Collecting data too early can measure warm-up gradients rather than steady-state uniformity.
The Required Test Should Follow the Real Drying Process
Not every application needs the same mapping depth. The acceptance plan should reflect how sensitive the product is to temperature variation and how the load is arranged in production.
| Application direction | Uniformity concern | Engineering focus |
|---|---|---|
| Motor & Stator Drying | Large metal mass, winding geometry, carts or racks, and moisture removal can create slow or uneven product response. | Air access, rack spacing, part temperature response, mapping around the loaded zone. |
| PCB Baking & Drying | Dense rack loading and electronics process requirements may need controlled, repeatable chamber conditions. | Rack spacing, low-contamination construction, logging, stable airflow, documented test data. |
| Constant Temperature Drying | Temperature stability and repeatability are often central to the equipment selection. | Sensor placement, air balance, control strategy, mapped working zone. |
| High Temperature Drying | Higher heat loss and material limits make door sealing, insulation, circulation and sensor selection more critical. | Thermal structure, high-temperature circulation, mapped usable zone, component suitability. |
| Powder Drying | Fine, light, or low-density powders may be disturbed by high-velocity recirculation. Strong internal circulation can lift powder from trays, redistribute the bed, contaminate ducts, or make the process difficult to control. | Low-velocity or non-forced internal airflow where appropriate, shallow and consistent tray loading, heater distribution, controlled moisture exhaust, grounding / anti-static measures where required, and mapping under the actual tray arrangement. |
For the broader process-selection discussion, see our Powder Drying application guide.
State Uniformity and FAT Requirements Before the Quotation Is Frozen
If mapping, FAT, witness testing, calibrated sensors, data export, or specific reports are contractual requirements, include them in the inquiry. These requirements can affect airflow design, sensor quantity, controls, testing time, documentation, and project cost.
Uniformity Requirement
Required tolerance, test temperature, usable zone, and whether the test is empty or loaded.
Mapping Method
Number and position of sensors, stabilization rule, recording interval, test duration, and pass/fail calculation.
FAT Scope
Functional checks, heat-up test, alarms, interlocks, mapping, witness requirements, and run duration.
Documentation Scope
Drawings, manuals, test reports, calibration records, certificates, data files, and sign-off format.
Industrial Drying Oven Temperature Uniformity & FAT FAQ
What temperature uniformity should an industrial drying oven achieve?
Is a nine-point temperature test enough?
Should temperature uniformity be tested with the oven empty or loaded?
What is the difference between temperature stability and temperature uniformity?
What should be included in a drying oven FAT?
Does adding more heater power improve temperature uniformity?
Can a powder drying oven operate without an internal forced-circulation fan?
When should FAT requirements be defined?